Design Tools
It all starts with design!
You can always send us your design, but if you are feeling stuck, we offer a range of design solutions.
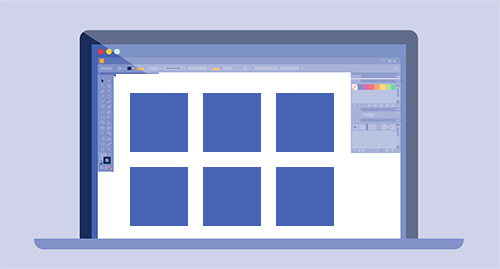
Browse Designs
Design from scratch or be inspired by one of our customisable templates.
Upload Your Artwork
Start by downloading one of our templates.
Once your design is ready, select 'Upload Design'.
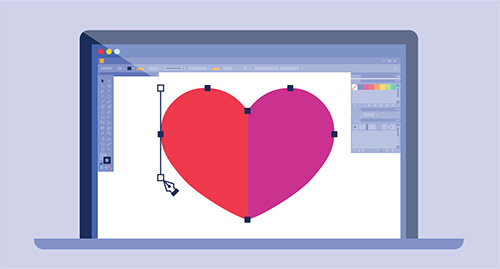
Use our Design Services
Work with one of our in-house designers to bring your ideas to life!
Get in Touch
Snap Print-Design Engine
A seamless solution for DIY Design-for-Print
Snap Print-Design Engine combines the simplicity of a drag-and-drop design interface with the print expertise and personalised service of your local Snap Print Solutions Centre.
The Snap Print-Design Engine toolbox will empower you to create print-ready designs using the templates provided.
All designs are free!
To access and use the Snap Print-Design Engine:
Start by selecting the type of product you're after (business cards, brochures, posters etc.) and your preferred printing options (such as paper quality and quantity) and then at step 2, choose 'Browse Templates'.
This will take you straight to the design templates for your selected product.
If you need some tips for using the Snap Design Engine to get great print results, check out our Design & Artwork FAQs.

Use Snap Print Solutions' Graphic Design Services
Bringing your creative ideas to life is what we do best.
It all starts with the initial Design Consultation. You can come to us with your ideas, or a blank sheet to start the process from scratch. Either way, we will work with you to develop designs with the WOW factor. To book a Design Consultation, fill out the Contact Us form here.
Our graphic designers offer a full range of creative services, including:
- Branding and Logo Design
- Marketing Design
- Business Stationery Design
- Special Event Design
- Website and eMarketing Design
Upload Your Own Design
Already have a finished design? We can get that printed for you in a SNAP...
After you've selected your product and print options (such as paper quality and quantity), at Step 2 select the 'Upload your Artwork' option.
Haven’t started your design? Get going by using one of our downloadable PDF or Ai templates, with trim and bleed lines marked, as your guide. Once your design is ready, enter your order details and select the ‘Upload your Artwork’ option.
To ensure you get the results you're looking for from the artwork you upload, refer to the Artwork Checklist which follow.
Artwork Checklist
Quick Checklist
- Document Colours are in CMYK
- Files set to finished size
- Set the trim allowances/bleed
- Set a Safety Margin
- Image & Graphic Resolution
- Line Weights
- File Formats/li>
- Embedded Fonts or Paths
Document Colours
- Prepare your files using CMYK as the colour mode, not RGB.
- Avoid using Registration for black text; instead, set the font colour to 100% Black.
- When using special colours (Pantone or HKS), enter the desired values in the colour channel.
- If you order a greyscale item, the file needs to be created in greyscale.
- We recommend creating grey areas in shades of black to ensure a perfect print result.
Files Set to Finished Size
- Create your files in their final trim size.
- If possible, your files will be automatically scaled to fit the order format (without bleed).
Please note that scaling a smaller format to a larger one can lead to a decrease in resolution quality.
For example, scaling an A6 flyer to an A4 flyer can affect the quality of your final product. The lack of bleed on the outer edges can likewise lead to white edges around your product.
Safety Margin
- Keep all text at least 5 mm away from the edge of the finished size.
- Contents in spiral-bound calendars or brochures should be kept at least 20 mm away from the binding edge.
- For folders, please leave a safety margin of at least 5 mm from the fold.
- Make sure colours, background pictures and layouts extend into the bleed area so as to avoid leaving white lines as a result of cutting.
- For artwork without a trim allowance, we may need to modify your artwork to ensure it's 'Print-Ready'.
Image & Graphic Resolution
- Pictures, images and graphics: 250 dpi
- Greyscales and colour images: 250 dpi
- Line artwork (e.g. texts in small font size and drawings): 1.200 dpi
- Large Posters and Pull-Up Banners with text: 150 dpi
Line Weights
- Lines should be at least 0.125 pt.
- Lines that are too thin are automatically increased to a printable weight.
(Exception: lines set to precisely 0 pt. We cannot guarantee that the weight of these lines will be automatically increased.) - Do not use borders to frame the whole page. They can be partially cut, due to the mechanical cutting tolerance and can affect the appearance of the final product.
Embedded Fonts or Paths
- Convert fonts to paths or embed them to avoid typeface discrepancies.
- Use fonts that don't have any licence restrictions and make sure the font coding in the PDF file is correct.
- Make sure there is sufficient contrast between background and font colours.